Chapter 02
A shop in your own Framer project
Already have a Framer site and want to sell on it? The checkout plugin sets up the shop building blocks for you and takes colours, fonts and corners from your project.
Who this is for
For everyone who doesn't use a kspr studio template but has their own Framer project, for example an existing brand site or a project an agency built. A kspr shop template already has everything, so you can go straight to connect Stripe.
Set up shop
Open the checkout plugin (open the plugin) and go to "Design". The plugin reads your project and shows what it found under "Your style": "Accent", "Corners", the fonts for "Headings" and "Text", and the appearance ("Follow site", "Always light" or "Always dark"). If a value says "Guess, please check", take a quick look. Every change shows right away in the preview (cart, product page, thank-you page).
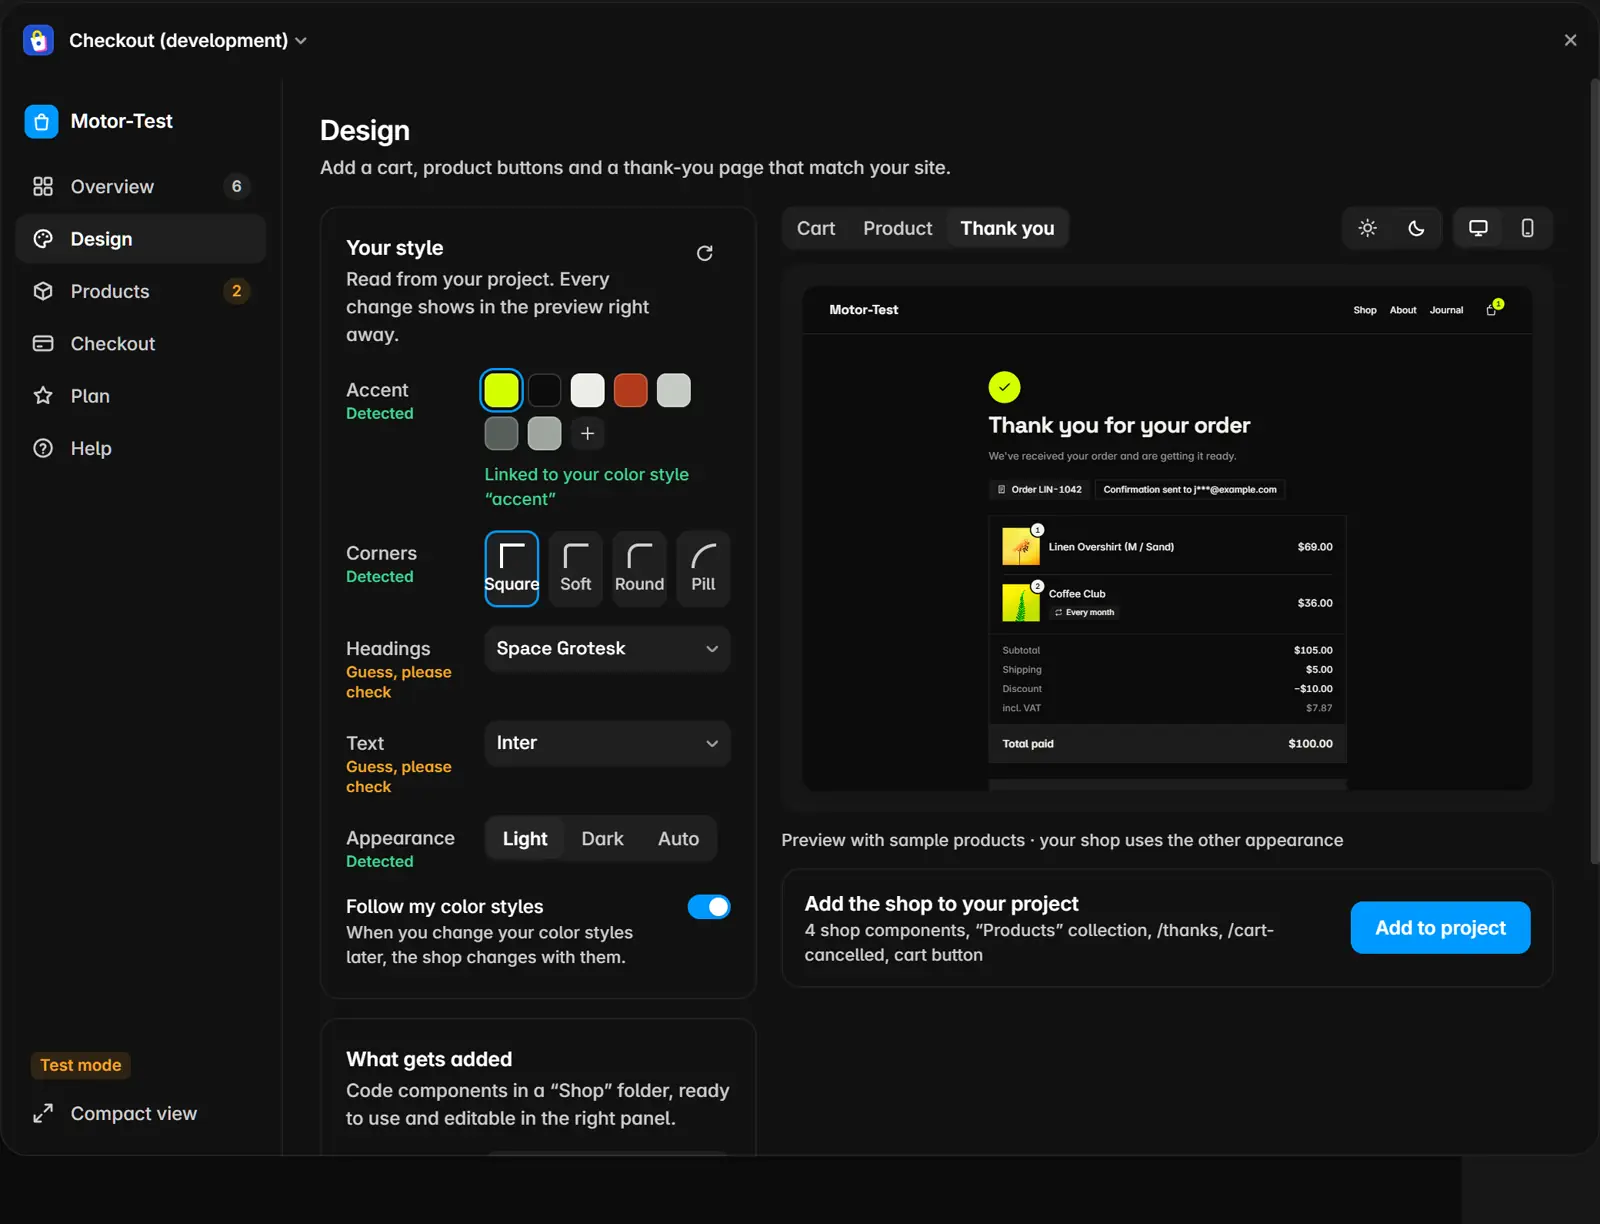
With "Follow my color styles" the shop follows your colour styles later: change a colour style and the shop changes with it, in light and dark.
Under "What gets added" you choose:
- for "Collection": "Create "Products"" (a new collection), complete an existing collection, or "Don't change the CMS";
- whether to create the "Thank-you page (/thanks)" and "Cart cancelled page (/cart-cancelled)";
- then "Add to project".
The plugin works through the steps and reports what it did for each one. Running it again doesn't create anything twice.
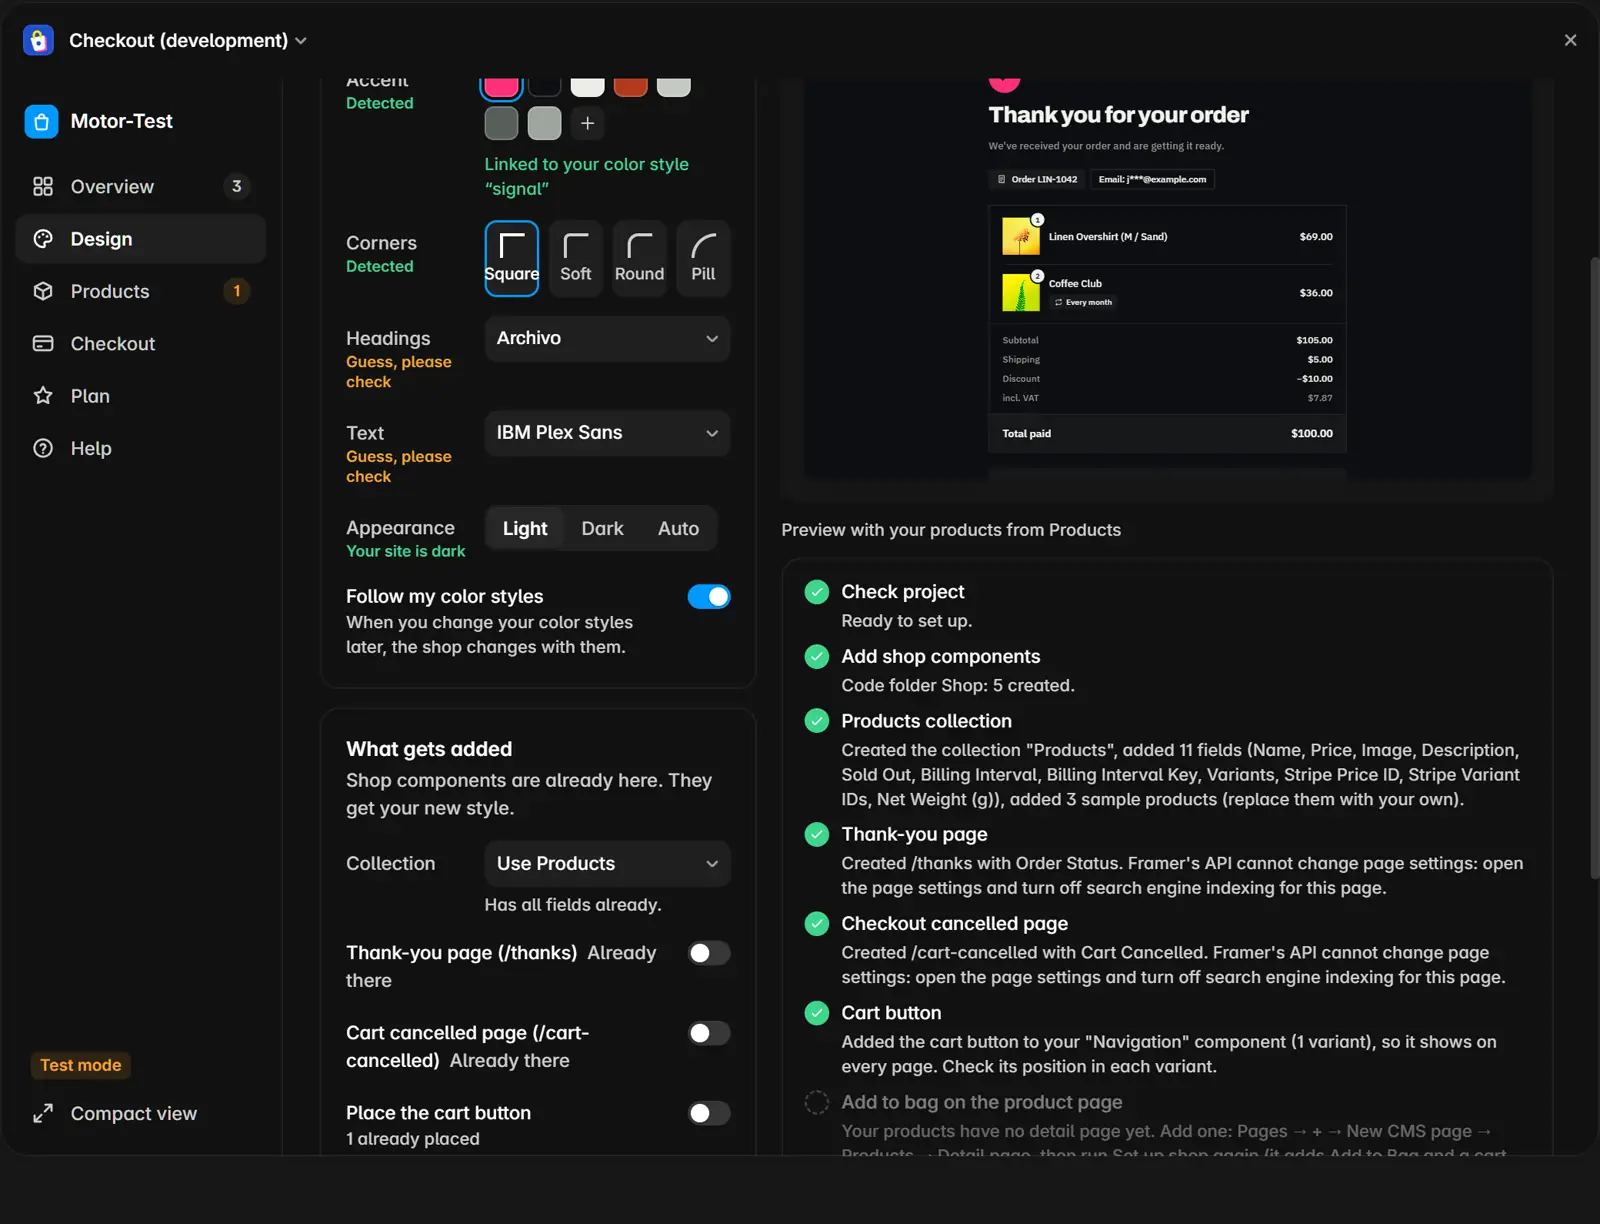
What gets added
- a code folder "Shop" with the components Cart Button (button with counter and drawer), Add to Bag (price, variants, quantity, buy button), Order Status (order confirmation) and Cart Cancelled;
- the "Products" collection with every field (see below). If it is empty, three sample products are added: one one-off, one with variants, one subscription;
- the pages /thanks with Order Status and /cart-cancelled with Cart Cancelled. Existing pages with your own content stay unchanged;
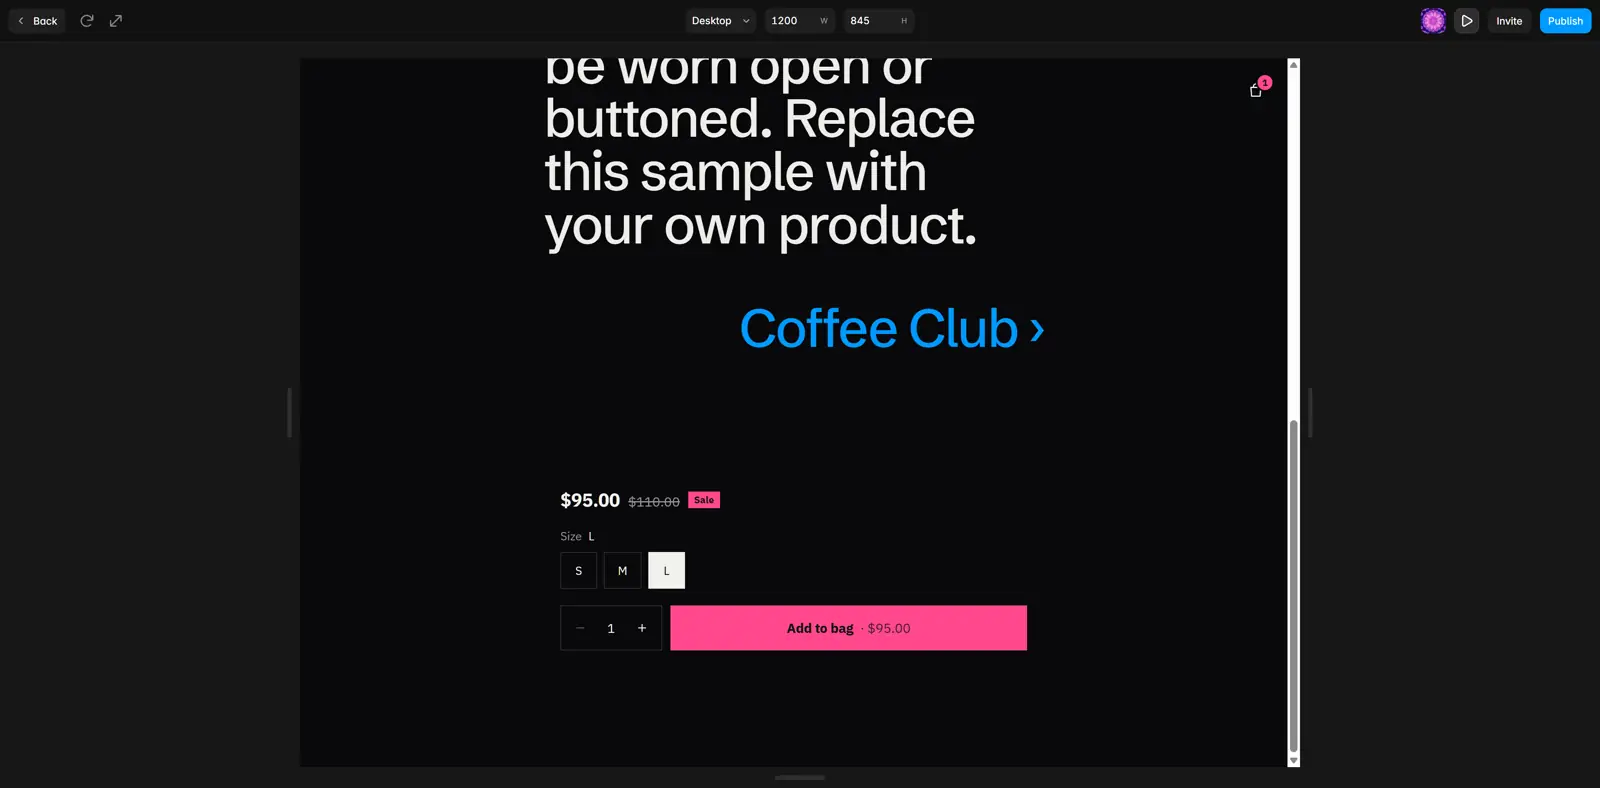
- the Cart Button in your navigation (otherwise fixed at the top right of the home page);
- Add to Bag on the CMS detail page of your products, if there already is one.
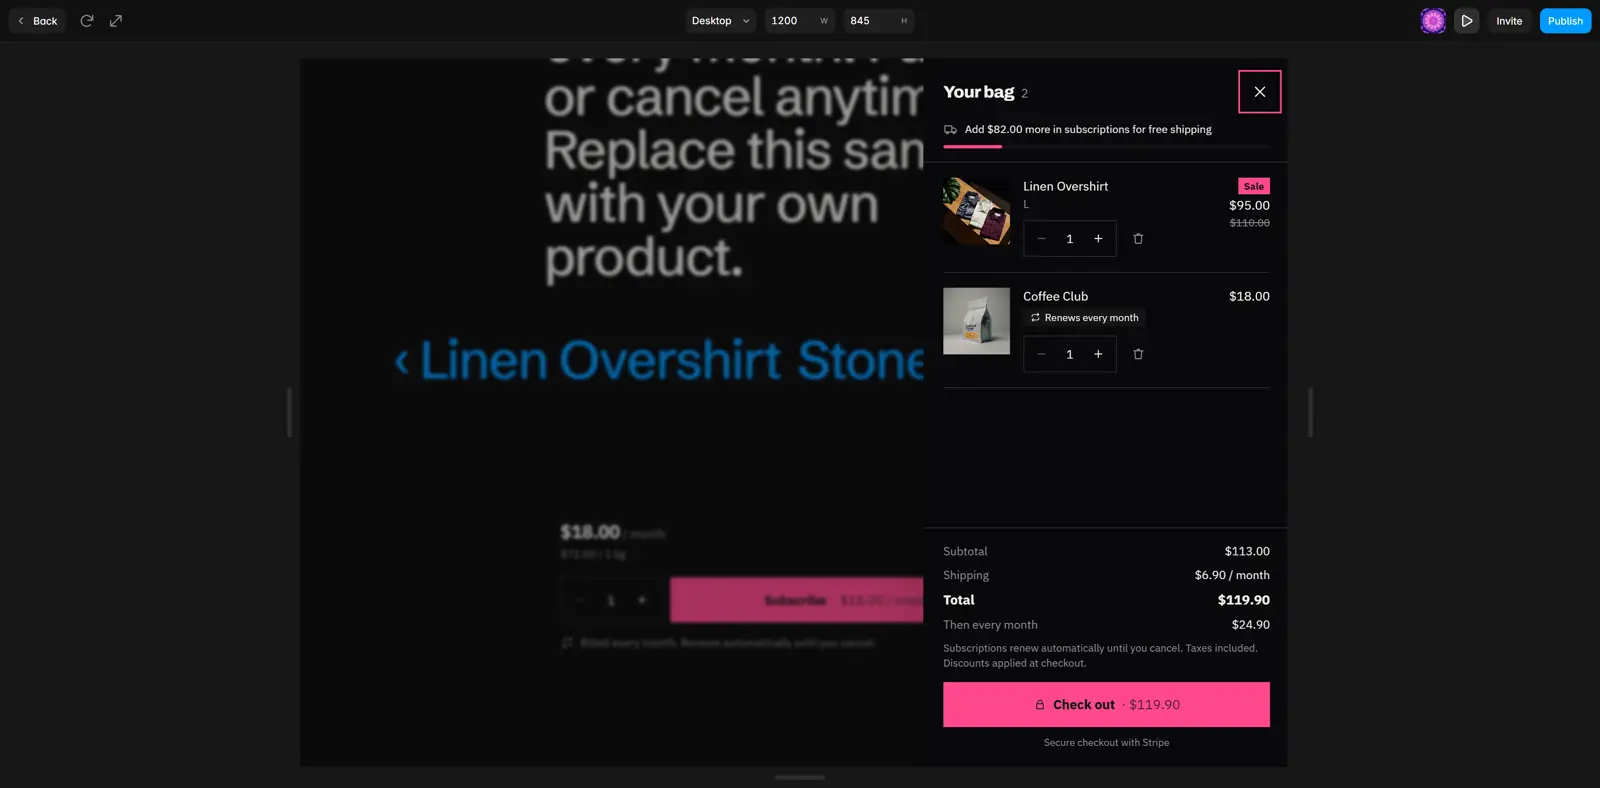
All components get colours, fonts and corners from your project. Later you can change each value on the right of the editor, in the component's properties.
Fields of the "Products" collection
| Field | What for |
|---|---|
| Name | product name, also shown in Stripe Checkout |
| Price | price, as a number or text like CHF 12.50 |
| Image | product image |
| Description | description |
| Sold Out | switch for products that are unavailable |
| Variants | sizes or pack sizes with their own price |
| Billing Interval | One-time, Week, Month or Year (subscription) |
| Billing Interval Key | text version of the interval, kept up to date by the plugin when updating |
| Net Weight (g) | net weight, for the unit price (for example per kg) |
| Stripe Price ID | filled in by the plugin, don't edit by hand |
| Stripe Variant IDs | filled in by the plugin, don't edit by hand |
Framer provides the slug itself. How prices, variants, subscriptions and "Sold Out" work is explained under update products.
What you do yourself afterwards
A few steps can't be done by a plugin in Framer. The "Overview" section shows what is still missing, with the button "Run Set up shop" for a second run.
- Add a detail page if your products don't have one yet: in Framer's pages, click +, then New CMS page and Detail page for the "Products" collection. Then run "Set up shop" again, and the plugin puts Add to Bag on the detail page.
- Connect "Add to Bag" to the fields: select Add to Bag on the detail page and connect each property on the right to its field:
| Property | CMS field |
|---|---|
| Stripe Price ID | Stripe Price ID |
| Slug | Slug |
| Name | Name |
| Price | Price |
| Image | Image |
| Sold out | Sold Out |
| Billing interval | Billing Interval Key |
| Variants | Variants |
| Stripe Variant IDs | Stripe Variant IDs |
| Net quantity | Net Weight (g) |
- Connect Billing interval to Billing Interval Key, not to "Billing Interval": Framer can't connect option fields directly to code properties, but the text field connects with one click.
- Keep the thank-you and cancel pages out of search: in the page settings of /thanks and /cart-cancelled, turn off indexing.
- Finishing touches: move the Cart Button and Add to Bag where you want them. If your navigation has several variants (for example for phone), check the position in each.
- Publish your site.
What's next
From here on, the path is the same as with a template: